
Table of Contents
Fill in the registration forms.
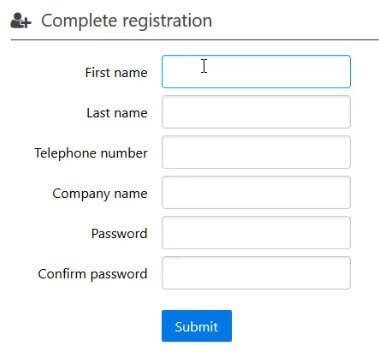

Then click launch to, launch the configuration of Exclaimer.

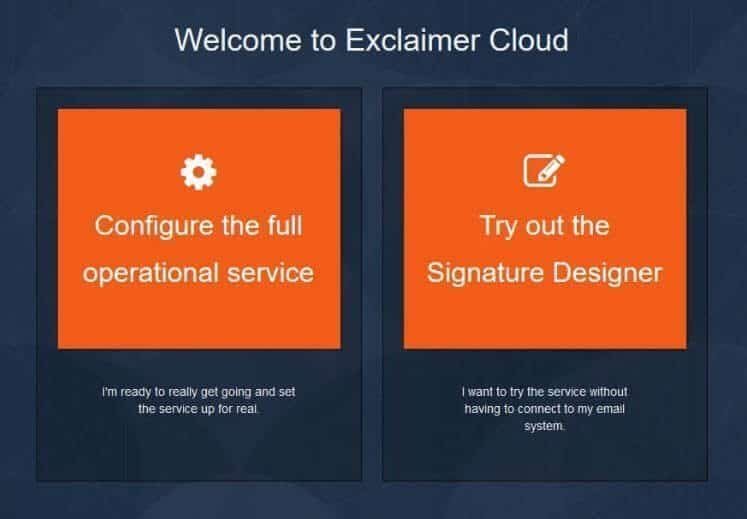
Now you can select either the configuration of the Exclaimer Service or you can try out the signature designer. We are going to configure the operational service.
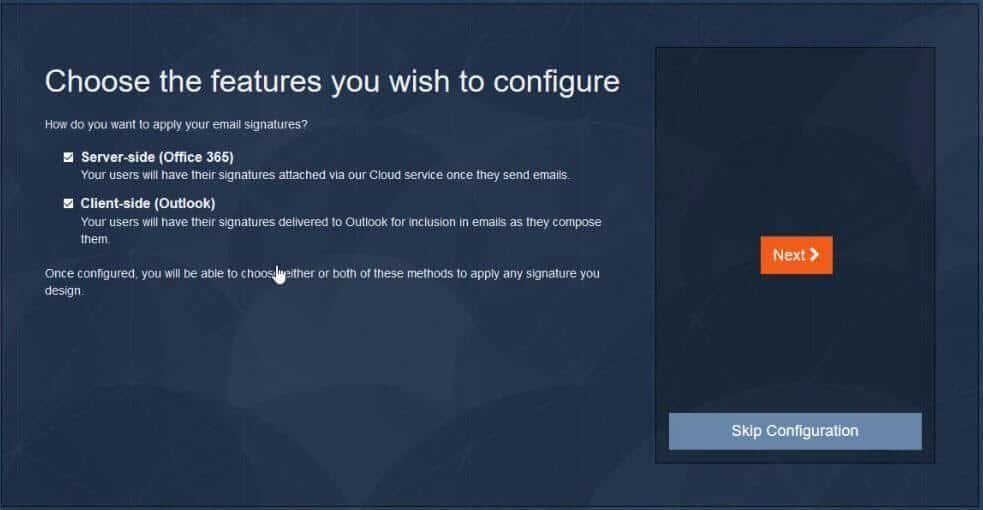
You can choose if your Exclaimer Cloud - Signatures for Office 365 trial will be configured for server-side deployment (so signatures are applied to all email messages via Exclaimer's Cloud service), or you might want to add client-side functionality (so applicable signatures are synchronised to Microsoft Outlook on users' computers). We are going to choose both.
The onmicrosoft domain needs to be added to this block as the permissions for Exclaimer need to be granted. You can find your onmicrosoft at this address https://admin.microsoft.com/Adminportal/Home?source=applauncher#/Domains or if they change that then under your Office 365 admin and settings and domains.

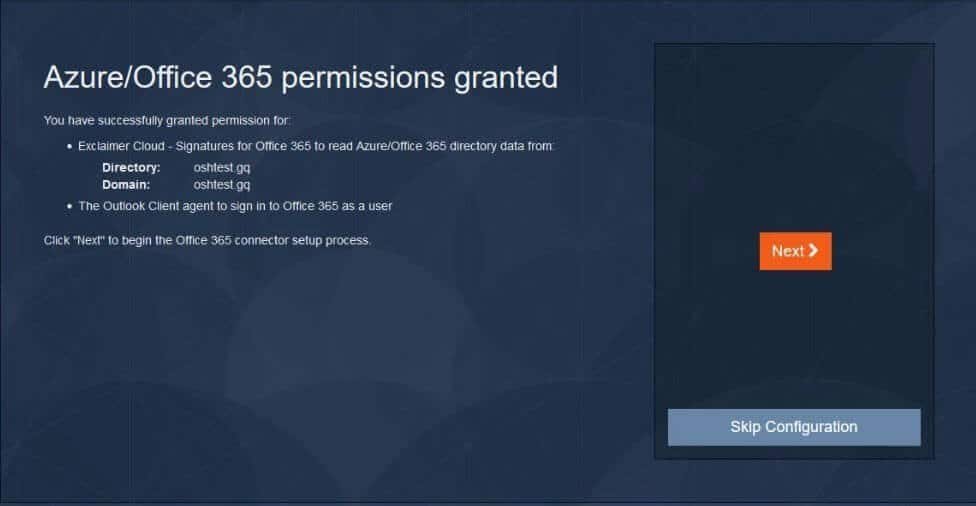
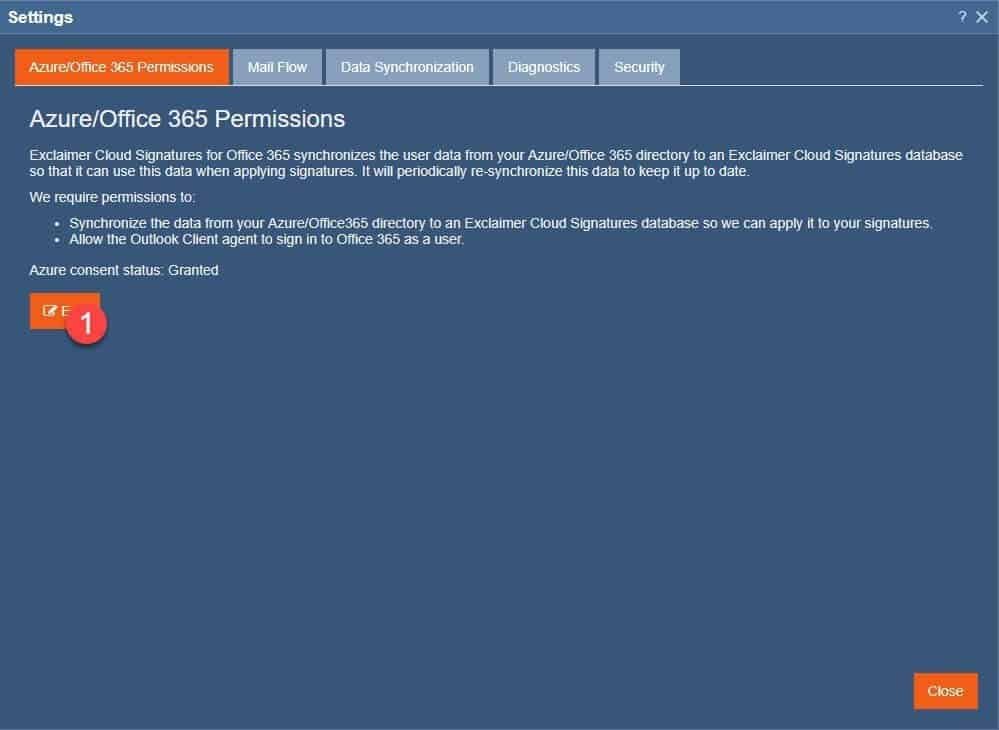
Now that you have said what onmicrosoft you use, then it will ask you to provide permissions for Exclaimer.
Would you like to compare CodeTwo and Exclaimer for Office 365?

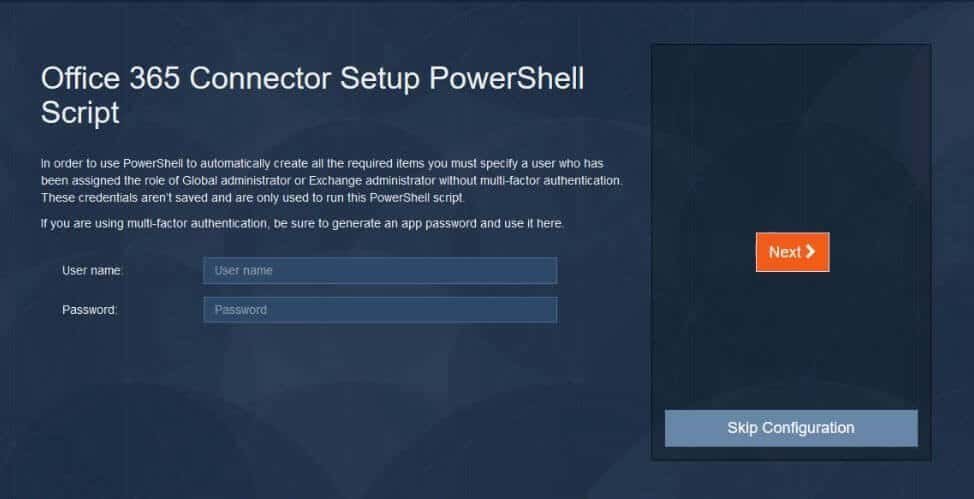
You now need to fill in your Username and password so that the PowerShell script will run using those credentials.
This screen allows you to choose whether or not you will send all messages from Office 365 to the Exclaimer Cloud or only messages from people in a specific group.

Once you have clicked next above the PowerShell scripts will start to run. This may take a couple of minutes.

Once you continue Exclaimer Cloud Signatures will start syncing your data and contacts details from Office 365 and the Azure AD. This could take a while depending on the speed and queues of Office 365 and the size of your AD. Go and make yourself a hot beverage.

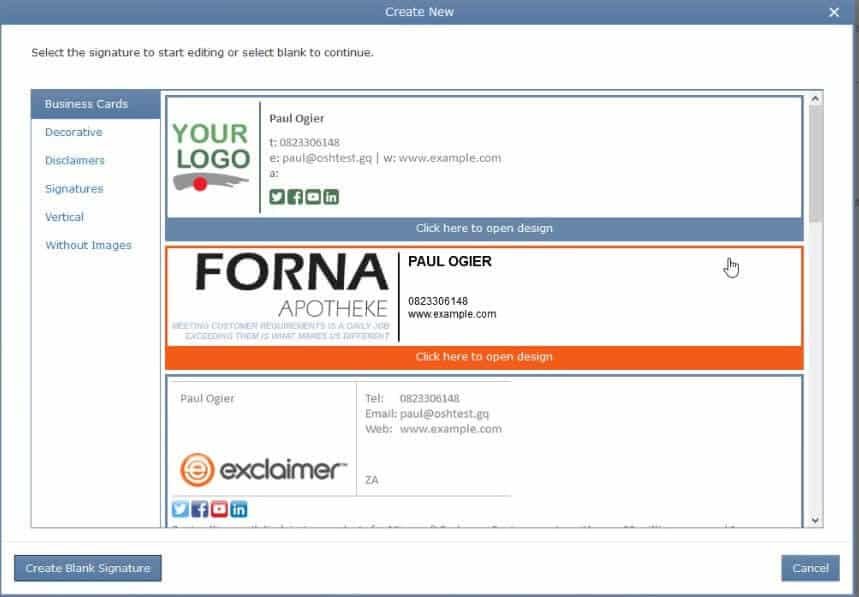
Once the data has synchronised, you will need to click next and you will be presented with this screen. Click on the button that says "New Signature".

You have the opportunity here to either start a signature from scratch by clicking the "Create Blank Signature" button or by choosing a template.
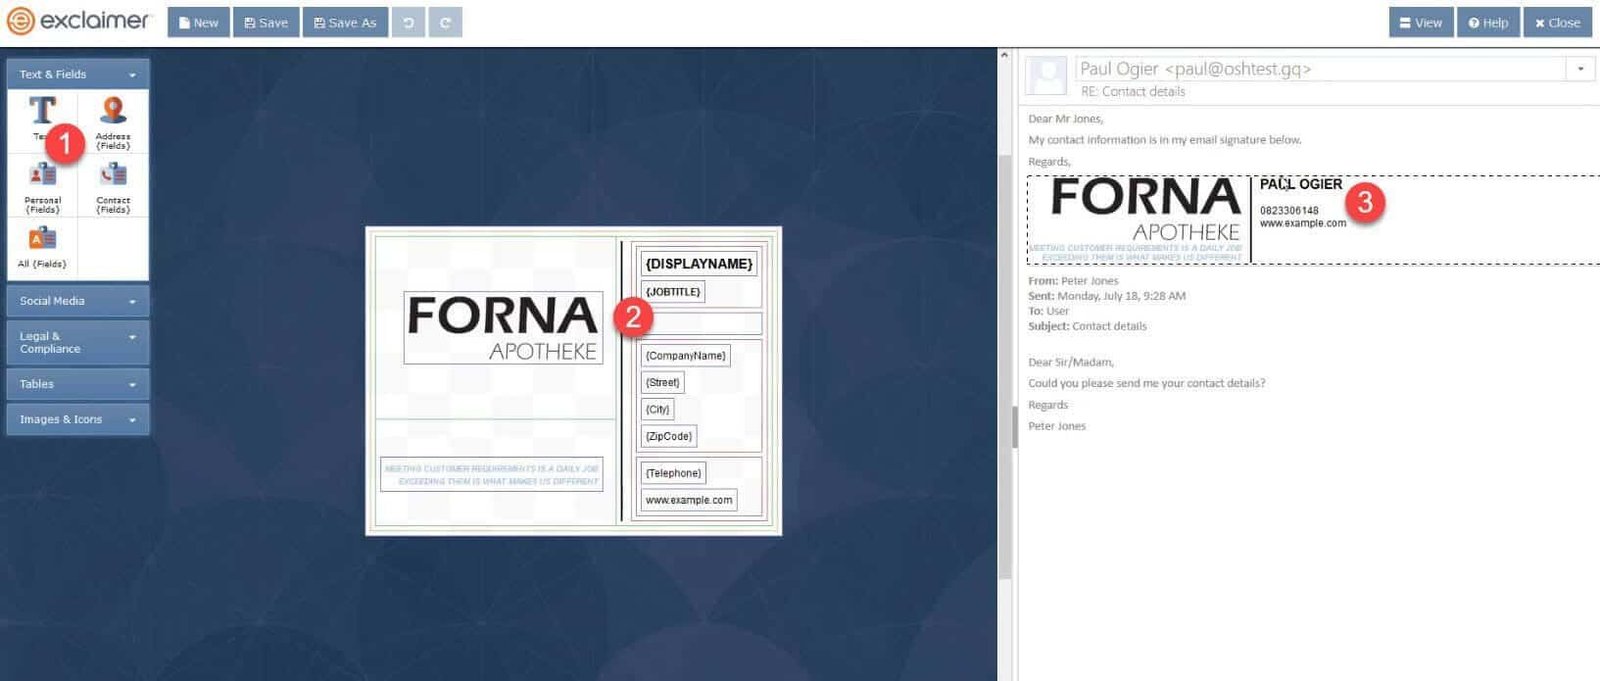
You can now choose fields from the left-hand side (1) and drag them onto your signature (2) and you will see the preview of what it will look like on the right (3).
Once you are happy with the design of your signature, save it and close. Then make sure that all of your contact info is updated on the Office 365 Azure AD by going here https://admin.microsoft.com/AdminPortal/Home#/users or login to the admin section of Office 365, click on Users and Active Users, once you choose a user to edit, click on "Manage contact information" on the right-hand side. Once you have added all the info and added all the fields to the Exclaimer Signature, then you are ready to enable the signature.

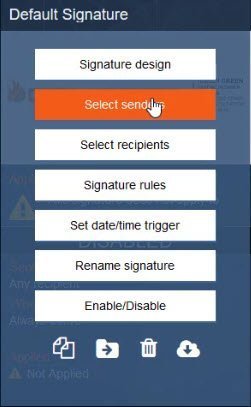
Move your mouse over the signature you want to enable and click on Select Senders.
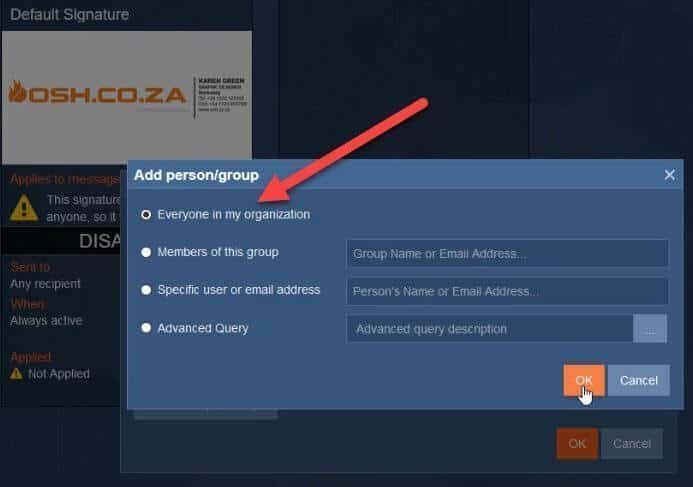
Then click add People / Groups and then select "Everyone in my Organization". This means that no matter who send emails from your company, it will go through the Exclaimer Cloud Signature Connector. You have the option here of selecting only people in a specific group, a specific user or email address or even an advanced query where you can make rules about who gets the emails sent based on maybe their names, their departments, what country they are in etc.

Click on the Enable / Disable button on the signature you want to deal with. Then this will pop up.
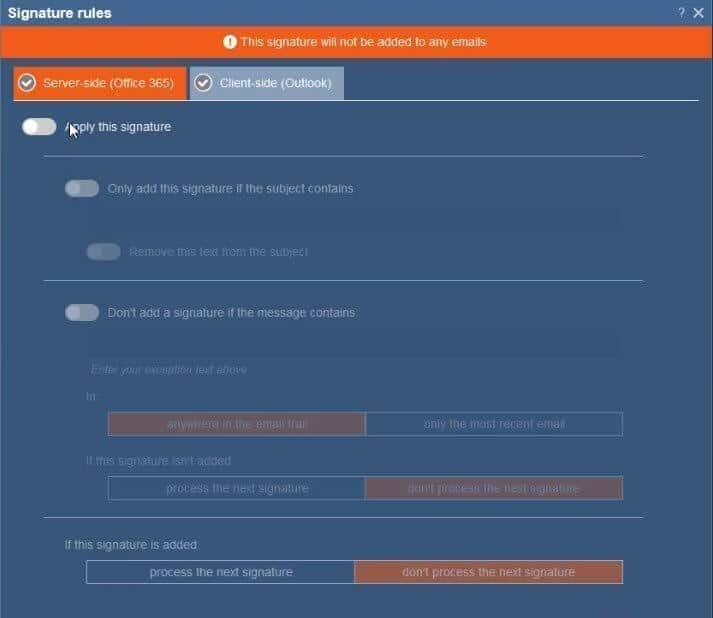
Under the Server Side (Office 365) tab, toggle the "Apply this Signature" toggle. Then choose any other things below that you might want to enable, like an advanced query to only include the signature if there is a word in the signature, or don't add the signature if the message contains a word or phrase.

Then click on the Client-side (Outlook) tab and enable the "Download this Signature to the client". You can then enable it for either New Messages, or Forwards and Replies or both. Then a button will be available for you to use called "Notify Users". If you click this then you will be able to email your staff and ask them to download the agent to install on their computers.
Would you like to see an alternate to Exclaimer? Look at our breakdown of CodeTwo vs Exclaimer here.
Now send an email from an email address that will go through Exclaimer. And see if it works. If it works then "Great" if it doesn't then "Bad". I have found that if it doesn't work immediately then wait for 10 mins and try again and it should work. If it doesn't, which happened once with me, then you can redo the wizard in Exclaimer by going through the settings menu.
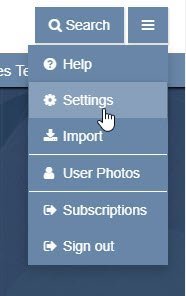
Then running through these tabs.
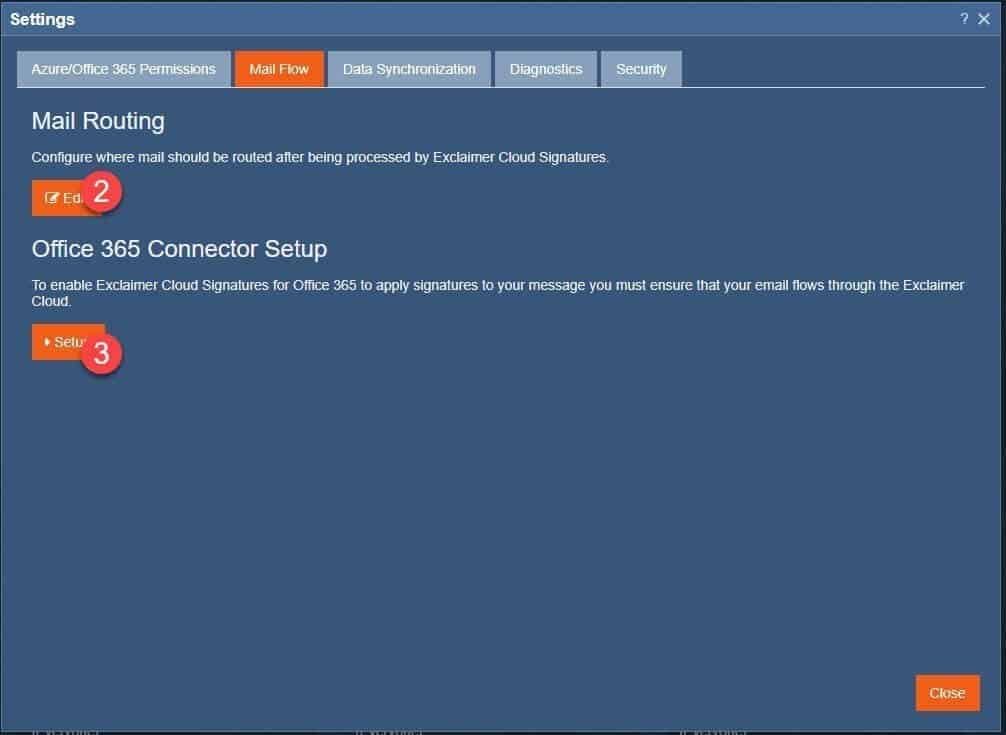

Test the signatures again. It should now work.
OSH.co.za has been working with Exclaimer and the Cloud Signatures for Office 365 and Google G Suite for many years and we have the experience and knowledge to help with all your Cloud Signature deployments. If this tutorial helps you and you don't need support we can also possibly offer you a discount on the price of Exclaimer without even using a coupon! Get in touch with us today for the best deal and service on Exclaimer.
